
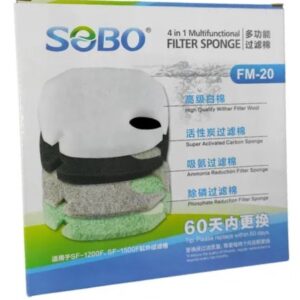
SOBO Canister Filter Replacement Sponges
R140,00
- Description
- Additional information
- Reviews (0)
Description
🧽 SOBO Canister Filter Replacement Sponges
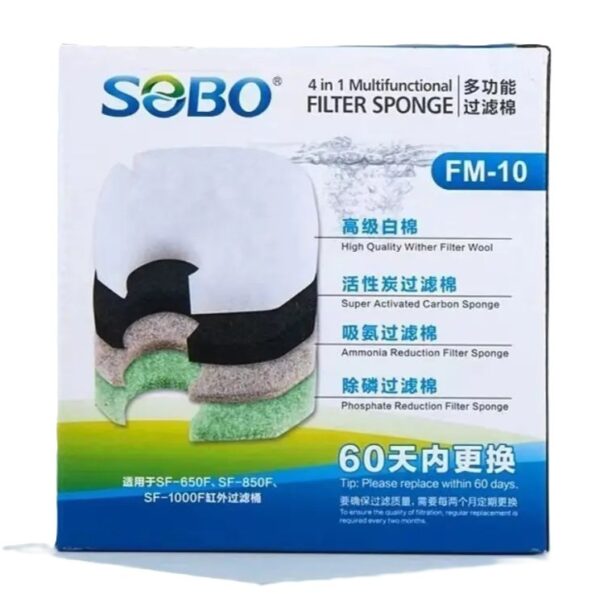
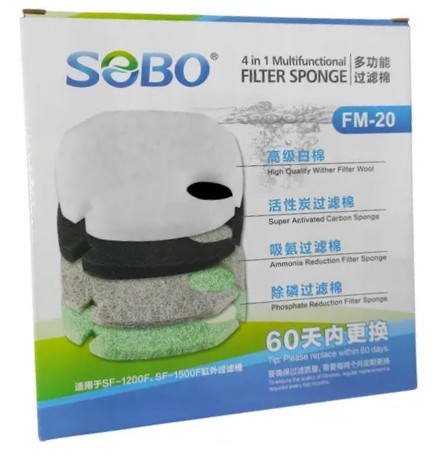
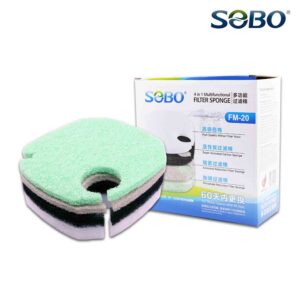
FM-10 & FM-20 – 4-in-1 Multifunctional Sponge for SOBO Canister Filters
Upgrade your aquarium filtration with these SOBO 4-in-1 Multifunctional Replacement Sponges, specially designed for the FM-10 and FM-20 filter models. Each sponge set offers mechanical, chemical, and biological filtration to maintain clear, healthy water for both freshwater and marine aquariums.
✅ 4-in-1 Filtration Power:
- 💨 High-Quality Filter Wool – Traps fine debris and particles
- 🧪 Super Activated Carbon Sponge – Removes odors, discoloration, and impurities
- 🧬 Ammonia Reduction Sponge – Helps reduce toxic ammonia levels
- 🧊 Phosphate Reduction Sponge – Controls algae growth by lowering phosphate
🔁 Easy Maintenance:
- 🗓️ Replacement Recommended Every 60 Days for peak performance
- ♻️ Reusable a few times with gentle rinsing in tank water
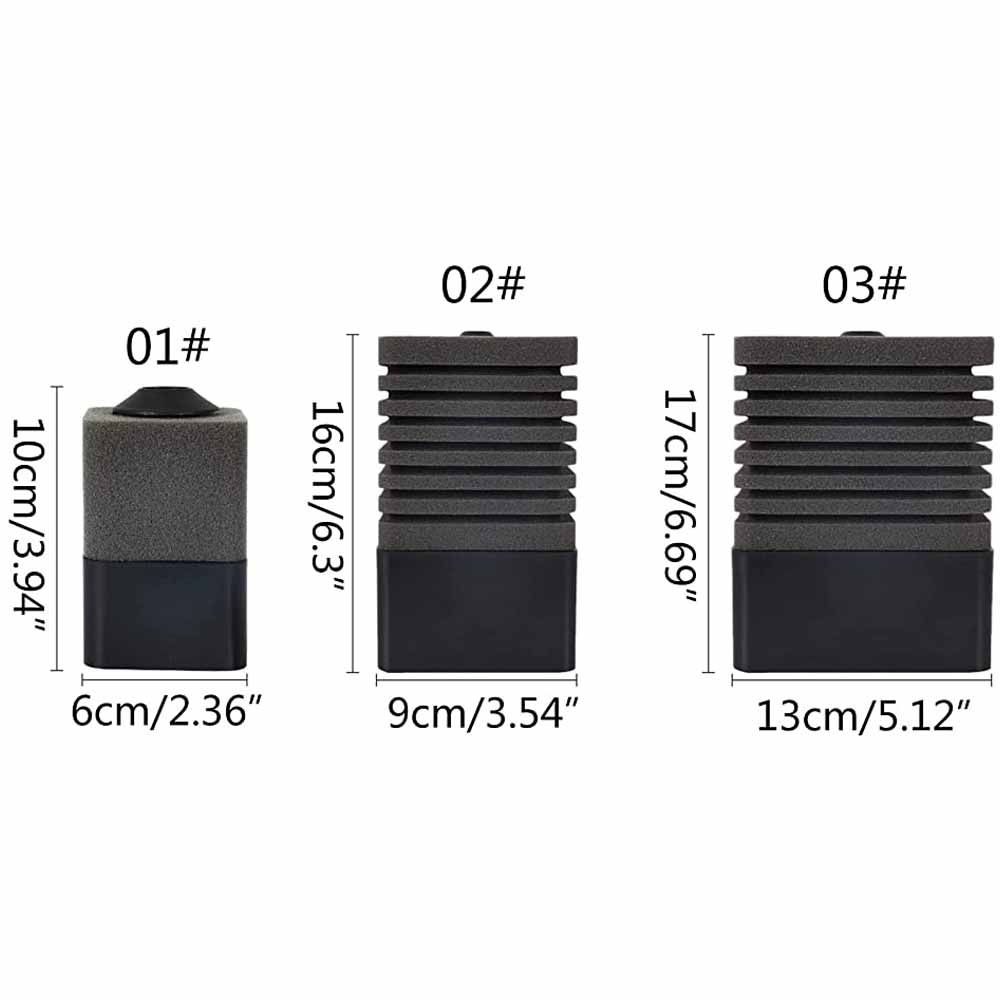
📏 Two Sizes Available:
- FM-10 Sponge Set
- ✔️ Suitable for: SF650F, SF850F, SF1000F Canister Filters
- FM-20 Sponge Set
- ✔️ Suitable for: SF1200F, SF1500F Canister Filters
Maintain your SOBO canister filter’s peak performance with these efficient and easy-to-replace 4-in-1 sponges — the perfect combination of convenience and advanced filtration.
🛠️ SOBO Canister Filter Setup Guide
1. Prepare Filter & Media
- Ensure the 4‑in‑1 replacement sponge or other media (mechanical, chemical, biological) are clean and slightly wet for better flow.
- Fit each layer neatly in its respective tray—filter wool → activated carbon → ammonia sponge → phosphate sponge (if applicable).
2. Connect Hoses
- Attach inlet and outlet hoses securely to the canister using the provided fittings.
- If using the FM-10 or FM-20 sponge set, confirm the appropriate fit for your filter model—FM‑10 works with SF650F, SF850F, SF1000F and FM‑20 with SF1200F, SF1500F.
- Ensure hoses are fully submerged and avoid sharp bends to maintain water flow.
3. Mount & Position the Pump
- Place the canister filter at or below water level to ensure proper siphoning.
- Use the suction-cup-mounted inlet and outlet pipes for secure placement inside the tank or sump.
- If using the UV version, ensure the UV sleeve is fully submerged.
4. Prime & Start
- Fill the canister with water to reduce airlocks.
- Switch to the “prime” setting (if available), or manually pump the system until water flows steadily through both hoses.
- Plug in the unit and verify water is flowing clearly through the outlet—no leaks should be present.
5. Adjust Flow Rate
- Use the flow control knob to tailor water circulation to your tank’s needs.
- Higher flow works best in reef systems.
- Lower flow is ideal for planted or shrimp tanks.
6. Final Checks & Placement
- Confirm hoses are fully sealed and there are no kinks or obstructions.
- Ensure the canister is secure and easily accessible for future maintenance.
- The UV-equipped version should run continuously to maintain water clarity; the non-UV version can run as needed, depending on tank conditions.
7. Ongoing Maintenance
- Replace the 4‑in‑1 sponge every 60 days or sooner if water flow is reduced.
- Rinse mechanical and biological media in tank water, and replace carbon monthly.
- For UV models, replace the UV bulb yearly to maintain effectiveness.
✅ Quick Setup Checklist:
| Task | Completed |
|---|---|
| Media loaded (sponges & carbon) | ☐ |
| Hoses attached and snug | ☐ |
| Filter positioned and anchored | ☐ |
| Water-filled & pump primed | ☐ |
| Flow adjusted for tank type | ☐ |
| Regular clean/maintenance plan | ☐ |
With this guide, your SOBO canister filter will be ready to maintain a crystal‑clear, balanced aquarium environment.
Let me know if you’d like a troubleshooting guide or media upgrade suggestions!
Additional information
| Size | FM-10 Sponge Set (SF650F, SF850F, SF1000F Canister Filters), FM-20 Sponge Set (SF1200F, SF1500F Canister Filters) |
|---|
Only logged in customers who have purchased this product may leave a review.
Related Products
Antopie Bio Sponge Filter
Filter Wool 25g
Qanvee Bio Sponge Filter

Reviews
There are no reviews yet.